
Why HDPE Pipe Welding Fails: 10 Common Problems and Fixes
Table of Contents
HDPE Pipe Welding failures often come from poor preparation, wrong temperature, pressure errors, contamination, or weak inspection. This guide explains 10 problems and practical fixes for safer joints.
What Does HDPE Pipe Welding Failure Mean?
Short answer: why HDPE pipe welding usually fails
A failed HDPE pipe weld basically comes down to one thing: the molecular chains at the pipe ends didn’t tangle together properly during fusion. Why does this happen? Usually, it’s due to process errors. Think incorrect heating plate temperatures, weak fusion pressure, sluggish changeover times, or sloppy surface prep. Let these parameters slip, and you end up with a physically weak interface. Under operational pressure, that weakness translates directly to leaks, joint separation, and eventually, catastrophic pipeline blowouts.
Visible signs of a failed HDPE pipe weld
A quick visual inspection can reveal a lot about a joint’s integrity. What should you look for? Uneven interface gaps, ovality at the pipe ends, and lopsided weld beads are glaring red flags. Field inspectors specifically hunt for “false fusion.” This happens when crews force pipes together without proper alignment clamps, drastically reducing the actual bonded area. Watch out for excessive bead rollback or a deep V-shaped notch between the beads, too. Both point straight to weak pressure or botched heating cycles.
Why small welding defects become major pipeline risks
Tiny mistakes on day one turn into massive structural headaches years down the line. In polyethylene gas and water networks, the joints are always the weakest links. If molecular diffusion falls short, continuous fatigue loading will eventually trigger a brittle failure. The engineering data backs this up. Take a joint missing a proper, uniform weld bead and subject it to a 10 MPa load at 28°C. Its creep life plummets by 50% compared to a standard joint. A microscopic fusion gap today is a full-bore rupture tomorrow.
How poor pipe preparation affects fusion quality
Good molecular entanglement starts with meticulous surface prep. Leave even a fraction of the oxidized layer on the pipe’s exterior, and those melted polymer chains simply won’t mix. Dirt, moisture, or oils trapped on the face act like a brick wall during heating. They block uniform heat distribution and carve out weak zones right in the joint matrix. Furthermore, poorly faced ends create localized high-pressure points and trap air pockets. The result? A weld that looks perfectly fine to the naked eye but snaps instantly during a destructive bend test.
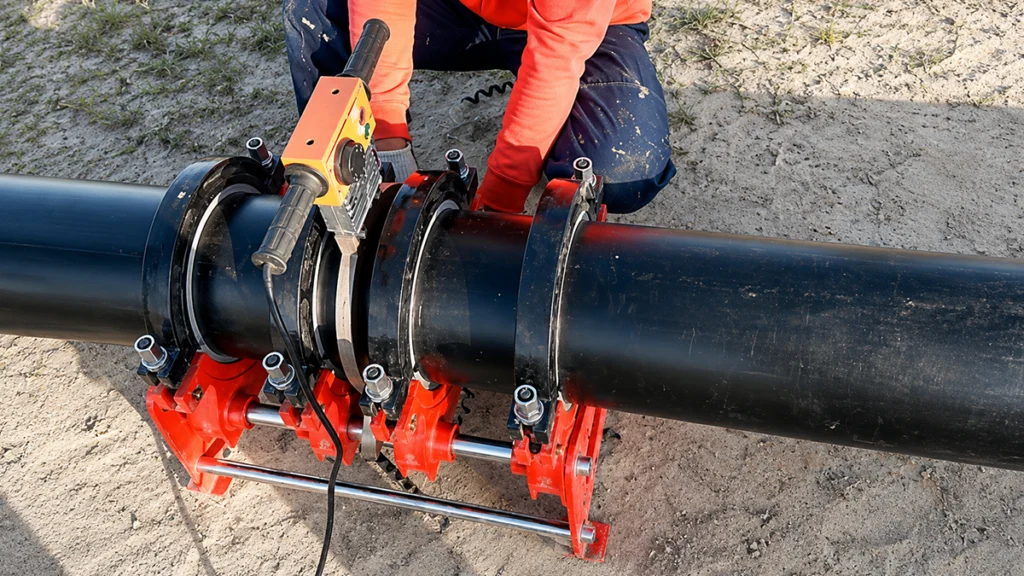
Problem 1: Poor Pipe Cutting, Scraping, or Surface Preparation
What should be cleaned, scraped, and squared before welding?
Flawless welds demand exact mechanical preparation. For electrofusion, operators must maintain a scraping thickness of exactly 0.2mm to strip away the oxidized layer entirely. You also need to extend that scraping length past the electrofusion fitting’s penetration depth, leaving at least 10 mm of clearance on both sides. Butt fusion requires perfectly squared ends, achieved using a calibrated facer. The cut end face’s inclination deviation absolutely cannot exceed 1% of the pipe’s outer diameter. Regardless of pipe size, the absolute maximum deviation is capped at 3mm.
Fix: standardize pipe end preparation before every weld
Take the guesswork out of the equation by standardizing the process. Enforce strict protocols requiring crews to use mechanical peeling tools rather than relying on manual hand scrapers. This is the only way to guarantee that critical 0.2mm depth. Inspect facer blades daily. Dull blades carve micro-grooves into the pipe ends, ruining the surface. After facing, crews must check for continuous ribbons of material peeling off both ends simultaneously. That’s your visual proof of a perfectly squared face.
What happens when HDPE is overheated or underheated?
Mess with the temperature, and you destroy the polymer’s structural integrity on the spot. Underheating stops the material from hitting its required melt flow index. You end up with a “cold joint.” The pipes touch, but they never actually fuse at the molecular level. On the flip side, pushing the heat too high or too long causes molten resin to spill out of the observation port. This triggers thermal degradation, decomposes the resin, and generates smoke. Once that happens, the mechanical properties are gone forever, and joint failure is guaranteed.
Recommended temperature control practices for butt fusion
Dial in the heating plate temperature between 200°C and 270°C, and keep it there. You must strictly follow the specific resin data supplied by the pipe manufacturer. Keep in mind that temperature control isn’t a set-it-and-forget-it deal; it demands environmental compensation. When ambient temperatures swing anywhere from –5°C to +40°C, you have to adjust the fusion time. Use a correction factor of roughly 0.5% to 1% per degree Celsius to keep the process stable.
Factory-direct pricing with technical consultation included
Get Your Free QuoteProblem 2: Incorrect Heating Plate Temperature or Heating Time
Fix: verify heating plate temperature before production welding
Never trust the butt fusion machine’s internal digital display blindly. External verification is non-negotiable. Before striking the first production weld of a shift, grab a calibrated surface pyrometer. Check the heating plate at multiple spots—both the center and the edges—on both sides. This simple step confirms uniform heat distribution. More importantly, it catches failing internal heating elements before they churn out an entire batch of bad joints.
How fusion pressure changes weld strength
Pressure dictates exactly how those melted polymer chains interlock. Per the DVS 2207 standard, “Low-Pressure Welding” needs about 0.15 N/mm² (roughly 1.5 bar) of interfacial pressure. This achieves solid molecular diffusion without squeezing the crucial molten material out of the fusion zone. Once you hit the heating phase, drop the heat absorption pressure down to about one-tenth of the fusion butt welding pressure. This keeps the pipe from springing back while maintaining tight, continuous contact with the plate.
What bead shape can tell you about weld quality
Think of the weld bead as the joint’s physical fingerprint. A proper bead rolls over smoothly and symmetrically against the pipe wall. You must hold the specified pressure until the minimum crimping on both sides hits a precise mathematical target: 0.1 times the pipe’s wall thickness, plus 0.5mm. Spot a sharp V-notch between the beads? That means weak pressure or a sluggish changeover time. Massive, flat beads are just as bad. They tell you the joint was overheated or crushed under extreme pressure, pushing the vital molten core right out of the interface.
Fix: record pressure, bead size, and changeover time for each joint
Manual clipboards invite human error. The smartest fix is upgrading to CNC automated fusion machines equipped with onboard data-logging. These systems actively track the exact drag pressure, fusion pressure, bead development, and changeover switching cycle for every single weld. Dragging out the switching time lets a “cold skin” form on the molten ends before they touch, physically blocking molecular chain diffusion. Logging these exact metrics gives you an airtight, traceable quality assurance record.
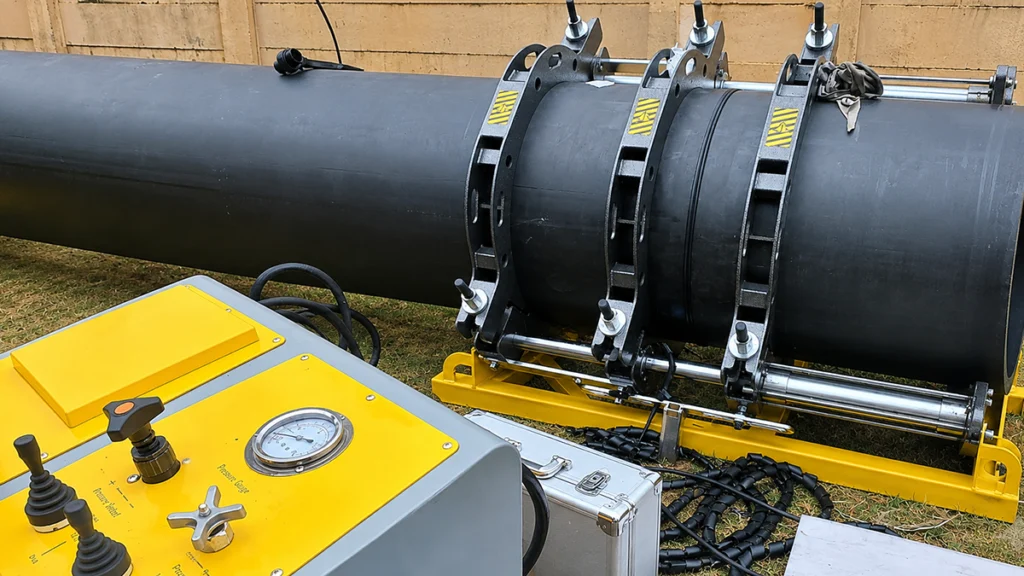
Problem 3: Wrong Fusion Pressure, Bead Size, or Changeover Time
Why alignment matters in HDPE pipe welding
Poor alignment forces operational stress onto just a tiny fraction of the joint’s surface, crippling the pipeline’s pressure rating. Industry rules are strict here: misalignment between two pipe ends cannot exceed 10% of the wall thickness. Gap tolerances before heating are equally rigid. You get a maximum of 0.3mm for diameters up to 225mm, 0.5mm for sizes between 225mm and 400mm, and 1mm for massive pipes over 400mm. Blow past these limits, and you guarantee an asymmetrical weld primed to rupture under surge pressures.
How pipe ovality affects butt fusion and electrofusion joints
Polyethylene pipes rarely stay perfectly round. Extrusion, coiled storage, and stacking on uneven ground all distort the shape. However, this out-of-roundness (ovality) must stay under 1.5% of the pipe’s outer diameter. In electrofusion, high ovality stops the fitting’s internal heating coils from making uniform contact, sparking localized short circuits and blowouts. In butt fusion, it prevents concentric alignment of the pipe walls, creating a massive high-low mismatch right at the fusion interface.
Fix: use correct clamps, re-rounding tools, and alignment checks
When ovality breaches that 1.5% threshold, crews need to physically correct the geometry. Grab specialized re-rounding clamps and position them right next to the weld zone. Check the HDPE pipe welding machine’s primary clamps too. They must be clean, fitted with the correct inserts, and tightened evenly to lock the pipe down against drag forces. Always run a dry test first—press the faced pipe ends together without heat. This lets you physically verify alignment and gap tolerances before committing to the heating cycle.
Common contamination sources on job sites
Field environments are brutal on thermoplastic welding. Airborne dust, trench mud, sudden rain, and morning dew are constant threats. Human error brings its own set of contaminants. Think bare hands leaving skin oils on freshly scraped pipe ends, or hydraulic fluid dripping from poorly maintained gear. Even wiping down a pipe with a dirty rag drags microscopic debris across the surface, practically guaranteeing a compromised joint.
Get detailed specs and custom configuration options
Request Technical SpecificationsProblem 4: Pipe Misalignment, Ovality, or Poor Clamping
Why moisture and oil are dangerous for HDPE welds
Moisture and hydrocarbons absolutely destroy molecular fusion. If water or condensation sits on the pipe face during heating, it instantly flashes into steam. This blasts microscopic voids and porosity right through the weld matrix. Oil and grease are just as destructive, acting like chemical release agents that stop polymer chains from bonding. Pushing through damp weather to meet a deadline always leads to rapid contamination, sloppy alignment, and eventual separation once the line goes live.
Fix: create a clean welding zone and approved cleaning process
Build a controlled micro-environment. Set up welding tents or shelters around the HDPE pipe jointing machine to block out wind, rain, and blowing dust. Next, enforce a rigid cleaning protocol. Wash away all mud and heavy dirt with water first. Once the surface dries, wipe down the fusion areas using a clean, lint-free cloth or industrial paper drenched in 90%+ isopropyl alcohol or methanol. Wait for the solvents to evaporate completely before you even think about starting the heating phase.
Can different HDPE grades be welded together?
Technically, certain polyethylene grades can be joined under highly supervised conditions. Realistically, welding incompatible materials is a fast track to catastrophic failure. Trying to butt weld PE80 to PE100 pipes is incredibly risky. They have completely different melt flow indexes, thermal stabilities, and density profiles. If you use heating parameters optimized for PE100, you will scorch and degrade the PE80 pipe, leaving you with an unbalanced, structurally ruined joint.
Why SDR and wall thickness compatibility matters
Standard Dimension Ratio (SDR) defines a pipe’s wall thickness relative to its outer diameter. Fusing pipes with mismatched SDR ratings creates a dangerous step-mismatch right at the joint’s inner diameter. To maintain concentricity, the wall thickness deviation between the two pipes must stay below 10%. Anything higher triggers intense localized stress concentrations, which severely handicaps the joint’s fatigue resistance and overall pressure rating.
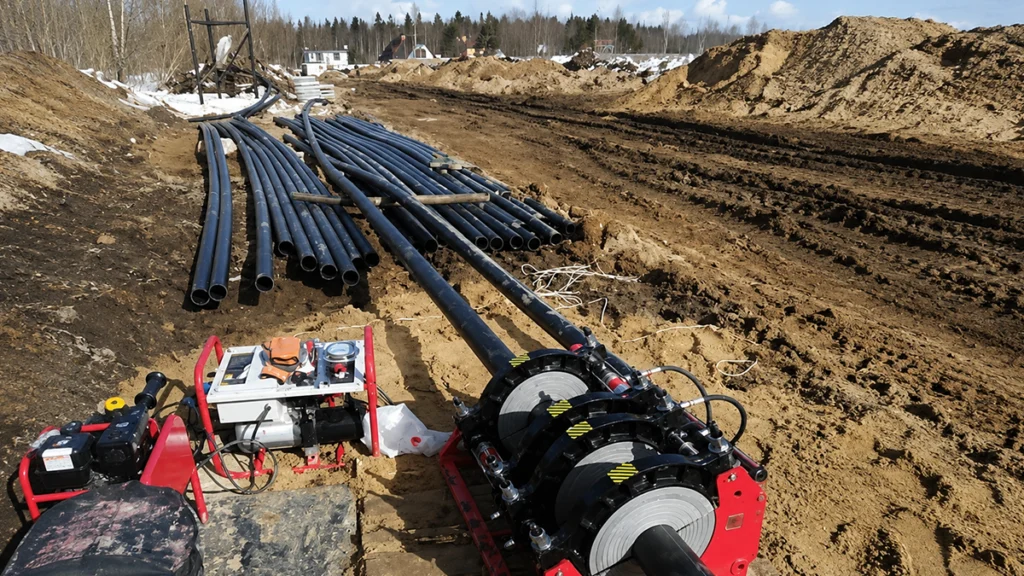
Problem 5: Contamination From Dirt, Water, Oxidation, or Oil
Fix: verify pipe, fitting, and supplier documentation before welding
Quality control starts long before you fire up the equipment. Procurement teams and field engineers need to audit all material certifications. Double-check that pipe grades, SDR ratings, and manufacturing specs align perfectly with the project blueprints. Keep electrofusion fittings and weldable joints sealed in their original packaging. Only expose the inner surfaces to the air right before installation to block rapid oxidation and job site contamination.
Why cooling time is part of the welding process
Cooling isn’t just downtime while crews wait around. It is a highly critical metallurgical phase. Plastics have terrible thermal conductivity, so they naturally cool at a crawl. The weld needs to shed heat under continuous, steady pressure. This allows the entangled polymer chains to properly crystallize and lock into their final structural matrix. Pop the clamps open too early, and the material shrinks unevenly, spawning internal voids and massive residual stress.
How weather conditions affect HDPE pipe welding
Extreme weather completely rewrites the thermal dynamics of fusion. In freezing temperatures, the heating plate fights to maintain a uniform temperature, and the cold pipe sucks heat out of the fusion zone too fast during changeover. Under blistering heat or direct sun, the pipe’s surface temperature spikes, forcing you to cut heating times to avoid degrading the material. Wind is the worst offender, triggering uneven cooling across the pipe’s circumference and warping the joint.
Fix: protect the weld zone and enforce cooling-time discipline
Never rush the cooldown. Hitting a hot weld with water, wet rags, or forced air blowers causes severe structural weakness and internal stress fractures. The joint must cool naturally, locked under pressure inside the butt fusion welding machine clamps, for the exact time mandated by DVS 2207 or ISO 21307. Operators need to use environmental enclosures to shield the setup from wind and temperature extremes throughout both the heating and cooling cycles.
Problem 6: Incompatible Pipe Materials, SDR Ratings, or Fittings
How uncalibrated welding machines create repeat defects
A pipe fusion machine is a piece of precision gear. If the hydraulic pressure gauges, temperature sensors, or timer relays drift out of calibration, the machine will pump out bad welds all day long—even if the operator follows the manual flawlessly. Failing to sync the butt fusion welder’s parameters with the specific thermal stability of the pipe resin bakes invisible, repeating flaws into the entire pipeline.
Which operator mistakes cause the most HDPE weld failures?
Manual, open-loop hydraulic butt fusion machines are notorious for high failure rates because operators control the timing and pressure by feel. The most frequent blunders? Miscalculating drag pressure, forgetting to drop the pressure during the heat-soak phase, dragging out the changeover cycle, and dumping clamp pressure before the cooling timer finishes. Jostling the connection while it’s fusing or cooling disrupts the slow structural formation of the plastic, triggering immediate failure.
Fix: use certified operators, maintenance logs, and welding procedures
The best way to cut out human error is to upgrade to fully CNC automatic butt fusion machines. These rigs use closed-loop electronic feedback systems and solenoid valves to govern pressure, temperature, and time. They take critical decisions out of the operator’s hands. Whatever equipment you run, mandate annual calibrations by certified techs. Keep strict daily logs tracking facer blade sharpness, hydraulic fluid levels, and the condition of the heating plate’s Teflon coating.
When should a welding machine be serviced or replaced?
Pull gear off the line immediately if the heating plate shows temperature swings greater than 5°C across its surface. The same goes if the hydraulic system bleeds pressure during cooldown, or if the facer stops cutting continuous ribbons. For major projects, upgrading to a CNC automated butt fusion machine makes undeniable financial sense. On a standard six-month pipeline build, swapping one expensive manual labor unit for an automated CNC process saves roughly $20,000 to $30,000. That easily covers the machine’s premium while wiping out rework costs.
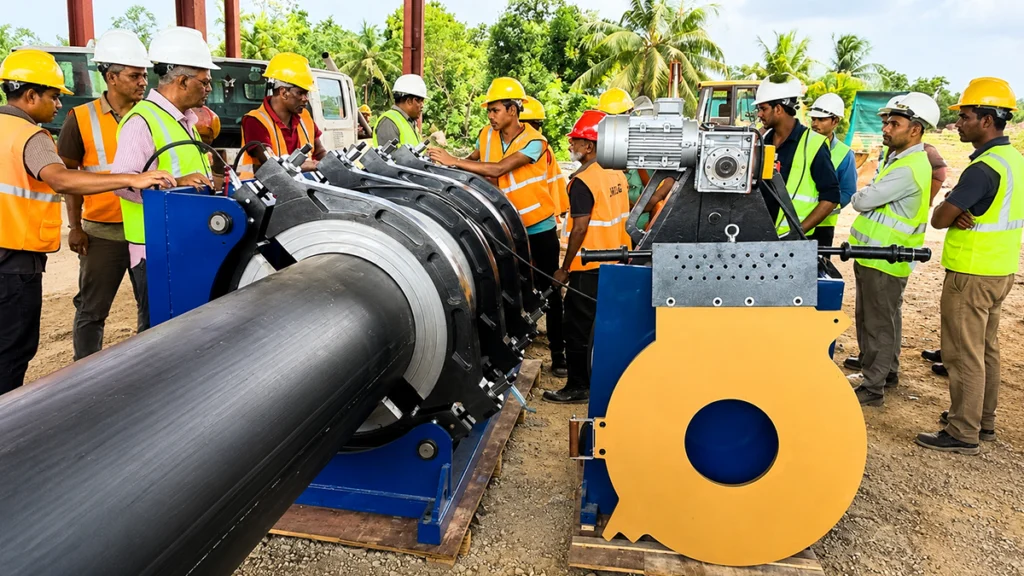
Problem 7: Premature Cooling, Movement, or Weather Exposure
Which HDPE weld defects can visual inspection detect?
Visual checks are your first line of defense, but they only reveal external geometry. A trained eye can spot incorrect bead sizes, lopsided roll-overs, and V-notches that point to low pressure. You can also catch misalignment past the 10% wall thickness limit or dirt trapped in the expelled bead. But here is the catch: visual inspections can’t prove internal molecular diffusion. A joint might look flawless on the outside but still blow apart under pressure if heating or cooling rules were broken.
When should pressure testing or destructive testing be used?
Destructive testing is mandatory during the pre-qualification phase to verify internal weld quality before production hits full swing. A smart daily QC habit is running a test butt fusion on-site and doing a destructive ‘bend test’ to see if weather conditions demand process tweaks. Hydrostatic pressure testing comes later. It must be performed on the finished pipeline in manageable 200–300 meter segments, ramping up the pressure slowly while strictly applying reduction factors based on the pipe’s temperature.
Fix: build a practical HDPE pipe welding inspection checklist
Lock down a mandatory, multi-stage inspection checklist for every single joint. Crews must verify the 0.2mm scraping depth, confirm the 200-220°C heating plate temperature with a pyrometer, and log the drag pressure. They also need to track exact changeover times and confirm the full cooling duration under pressure. Make operators physically sign off or digitally record these metrics for every weld before that pipe ever touches the trench floor.
A practical checklist before starting HDPE pipe welding
Project managers must enforce a rigid pre-flight checklist before any welding begins:
- Double-check material grades, SDR, and diameter compatibility.
- Deploy weather enclosures if wind, rain, or extreme temperatures are in the forecast.
- Verify the welding machine carries a current annual calibration certificate.
- Wash pipe ends with water, then wipe them down with 90%+ isopropyl alcohol on lint-free cloths.
- Calculate and record the exact drag pressure, fusion pressure, and cooling time for the specific pipe on the clamps.
Problems 8 and 9: Equipment Calibration Errors and Operator Mistakes
What to ask your HDPE pipe or welding machine supplier
When sourcing gear, push your suppliers for total transparency on standards and automation. Ask point-blank if the butt fusion machine complies fully with ISO 21307 and ASTM F2620. Demand hard specs on data-logging capabilities. Specifically, find out if it features barcode scanners to automatically input environmental compensations and pipe data. For high-stakes infrastructure builds, always ask whether the hydraulic system is open-loop (manual) or closed-loop (CNC automated).
When to request technical support, sample welding, or project-specific parameters
Don’t hesitate to call technical support when switching pipe manufacturers, dealing with extreme wall thicknesses (very high or low SDR), or working outside the normal –5°C to +40°C temperature window. Ask the equipment manufacturer to run laboratory peel tests or supply project-specific parameter calculations. This ensures your fusion pressure and heating times are perfectly dialed in for the exact resin you are burying in the ground.
Problem 10: Weak Inspection, Testing, and Documentation Controls
How to Prevent HDPE Pipe Welding Failure in Future Projects
Stamping out failure requires moving away from manual guesswork and adopting documented, automated precision. Deploy automated data-logging fusion machines to capture temperature, pressure, and time metrics for every joint. This hands you an unbreakable digital record for QA and compliance. Build a job site culture where weather tents, alcohol cleaning, and full natural cooling times are absolutely non-negotiable. By locking down temperature, pressure, prep, and contamination, contractors can practically eliminate joint failure and secure that 100-year pipeline lifespan.
—
FAQ
Q1: What is the most common reason HDPE pipe welding fails?
HDPE pipe welding usually fails because of process errors rather than bad materials. The usual suspects include incorrect heating plate temperatures, weak fusion pressure, skipping surface prep (like leaving the oxidized layer intact), and dirt or moisture contamination. Ignore these variables, and the molecular chains won’t entangle, leaving you with a compromised joint.
Q2: How do you know if an HDPE pipe weld is bad?
Visual clues include lopsided beads, a deep V-shaped notch between the rolls, or misalignment pushing past 10% of the wall thickness. “False fusion”—where the bead looks flat or uneven—is a dead giveaway for bad pressure or temperature. Keep in mind, though, that spotting internal defects requires destructive bend testing.
Q3: What temperature is needed for HDPE pipe welding?
For butt fusion, you typically calibrate the heating plate between 200°C and 220°C. However, your exact target depends on the pipe manufacturer’s resin data, the wall thickness (SDR), and the weather. Ambient temperatures outside the normal operating window demand specific time and temperature adjustments.
Q4: Can HDPE pipe welds be repaired after failure?
No, you cannot repair or re-melt a failed HDPE joint. Once the polymer suffers thermal degradation or fuses poorly, its strength is gone forever. The only fix is to cut out the bad weld completely, prep fresh pipe ends, and execute a brand-new fusion joint.
Q5: Why does an HDPE pipe joint leak after fusion welding?
Leaks happen when molecular fusion breaks down across the interface. This usually stems from taking too long during changeover (which lets a “cold skin” form), sloppy scraping that leaves an oxidized barrier, or moisture flashing into steam during heating, which blasts microscopic holes through the weld matrix.
Q6: How long should an HDPE pipe weld cool before pressure testing?
Cooling times depend on pipe diameter and wall thickness, strictly governed by standards like DVS 2207 or ISO 21307. The joint must cool naturally under clamp pressure until it hits ambient temperature. Never pressure test immediately. The line must stabilize completely, and testing should happen in 200–300 meter sections.
Q7: What inspection methods are used for HDPE pipe welding quality?
QC relies on a three-pronged approach: visual checks of bead geometry and alignment, reviewing the CNC machine’s data logs for pressure and temp metrics, and performing destructive tests (like bend or peel tests) on daily sample welds to confirm molecular diffusion before real production starts.
Q8: How can contractors reduce HDPE welding defects on large projects?
The biggest leap contractors can make is ditching manual hydraulic rigs for fully automated CNC butt fusion machines with closed-loop feedback. This wipes out operator errors tied to pressure and timing. Add in mandatory weather tents, alcohol cleaning, and digital data-logging for every joint, and consistency skyrockets.
—
Conclusion
HDPE pipe welding failures rarely stem from bad plastic. Almost every blowout traces back to uncontrolled process variables. The engineering consensus is absolute: sticking to exact temperature ranges (200-220°C), standardized pressures (like 0.15 N/mm² for ISO/DVS), and tight prep tolerances (0.2mm scraping, <10% misalignment) guarantees joint survival. Leaving these parameters up to an operator using a manual, open-loop machine introduces massive risk to high-pressure infrastructure.
Upgrading to CNC automated fusion gear with closed-loop electronic feedback and data logging is now a baseline requirement for serious quality assurance. Yes, the upfront equipment cost is higher. But the financial payoff is huge—wiping out operator-driven weld failures, slashing rework costs, and locking in compliance with ISO 21307 and ASTM F2620. By enforcing strict environmental controls, standardizing prep work, and leveraging automated precision, project managers can confidently deliver the 100-year lifecycle that HDPE pipelines are built for.
Let our experts help you choose the right equipment for your project
Contact Our Engineering Team